Ceramics I: Coil Pot
Artist Statement:
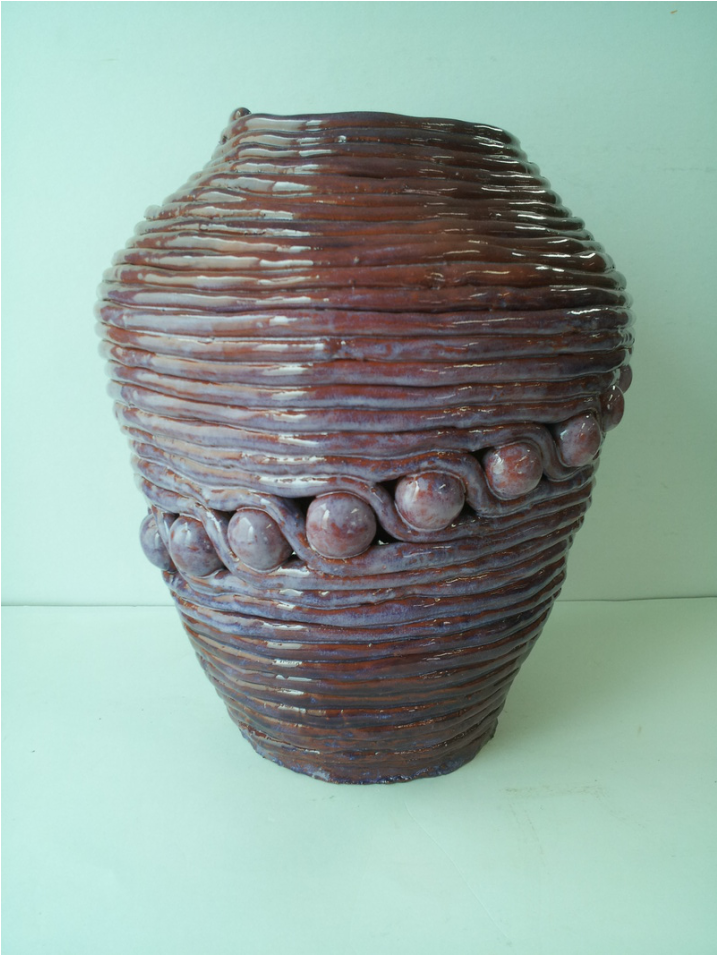
In the beginning of the coil pot unit, I was unsure of how to make a coil pot, since the concept was new to me. However, after learning the basics of coiling, I drew a sketch of my pot and began building. I found it difficult to roll out the coils the same width, since my coils often turned out very lumpy. However, with much practice, I was able to make even coils that were the same thickness and that stacked up well. Another challenging aspect was trying to shape my pot so it would curve in and out, since I had to be careful of the plasticity of the clay, since the pot might collapse.
Also, after building about half of my coil pot, I realized that I made it much wider than I had intended, but I just decided to leave it as it was. Since my pot was wider, it took more time to reach the required height of 30 centimeters, but I was able to reach it in the end, and my pot did not collapse in the middle, so I was satisfied with the outcome.
Since I like the color purple, I decided to experiment different shades of purple glazes on my pot. I tried to make a purple gradient from light to dark, but it did not come out well. However, I am pleased with how the glaze turned out and I will keep in mind the different purples (purple blaze, purple, and lilac) glazes that I used, in case I want to use them again on future pots.
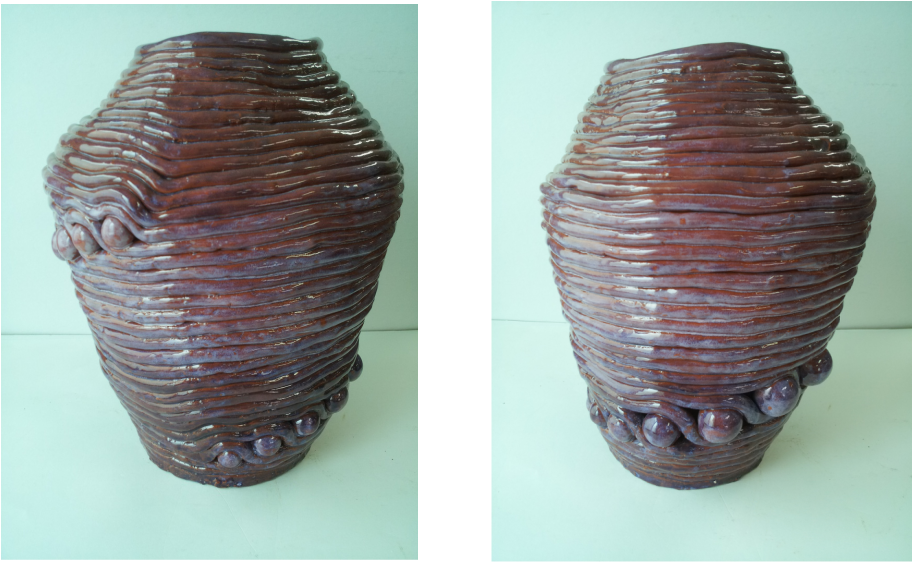
Throughout the coil pot unit, I learned several skills. I learned to smooth out the coils on the inside in order to maintain the stability of the pot. I also learned to keep the clay’s plasticity in mind. I let moist clay dry before stacking on more coils and wrapped my pot in wet paper towels so the pot would not get too dry as well. Since my pot’s design included spherical objects between some coils, I learned that plasticity was a crucial factor in keeping my pot in good shape.
Also, after building about half of my coil pot, I realized that I made it much wider than I had intended, but I just decided to leave it as it was. Since my pot was wider, it took more time to reach the required height of 30 centimeters, but I was able to reach it in the end, and my pot did not collapse in the middle, so I was satisfied with the outcome.
Since I like the color purple, I decided to experiment different shades of purple glazes on my pot. I tried to make a purple gradient from light to dark, but it did not come out well. However, I am pleased with how the glaze turned out and I will keep in mind the different purples (purple blaze, purple, and lilac) glazes that I used, in case I want to use them again on future pots.
Throughout the coil pot unit, I learned several skills. I learned to smooth out the coils on the inside in order to maintain the stability of the pot. I also learned to keep the clay’s plasticity in mind. I let moist clay dry before stacking on more coils and wrapped my pot in wet paper towels so the pot would not get too dry as well. Since my pot’s design included spherical objects between some coils, I learned that plasticity was a crucial factor in keeping my pot in good shape.
